There’s something truly magical about the simple elegance of Danish Butter Cookies that takes me right back to cozy holiday gatherings with family. These delicate, buttery treats, with their melt-in-your-mouth texture, have been a staple in Danish baking traditions for generations, and I’ve found that making them at home brings that same joy without the fuss. In my experience, the rich flavor of homemade Danish Butter Cookies far surpasses anything from a tin—it’s all about that fresh, golden crunch paired with a hint of sweetness.
Now, you might be thinking, “Can I really pull off authentic Danish Butter Cookies in my own kitchen?” Absolutely, and I’m excited to share this straightforward recipe that’s become my go-to for gifting or just indulging on a quiet afternoon. With just a handful of pantry staples, you’ll create batches of these delightful Danish Butter Cookies that disappear faster than you can say “fika.” Let’s dive in and get baking—trust me, your taste buds will thank you.
Key Takeaways:
- These Danish Butter Cookies offer an authentic taste of Denmark with a simple, foolproof recipe perfect for beginners.
- Prep and bake in under an hour for quick homemade treats without sacrificing quality.
- Experience the signature buttery richness and subtle sweetness that makes every bite irresistible.
- Chill the dough briefly for the best shape retention and even baking results.
- Store in an airtight container for up to two weeks to keep your Danish Butter Cookies fresh and crisp.
Why You’ll Adore This Danish Butter Cookies
Timeless Tradition Meets Modern Ease: Imagine recreating the classic Danish Butter Cookies that evoke holiday memories, but with steps so simple even a novice can succeed. I’ve made these countless times, and they always turn out picture-perfect without fancy equipment. The best part? They’re versatile for any occasion, from tea time to festive cookie swaps.
Buttery Bliss in Every Bite: What sets these cookies apart is the pure, indulgent butter flavor that melts away on your tongue—pure comfort food at its finest. We all love treats that feel decadent yet aren’t overly sweet, and these Danish Butter Cookies strike that balance beautifully. Pair them with coffee, and it’s like a mini vacation to Copenhagen.
Customizable for Your Taste: Whether you stick to the classic shape or add a twist like chocolate dips, these Danish Butter Cookies adapt effortlessly to your creativity. In my kitchen experiments, they’ve become a canvas for fun flavors without losing their authentic charm. You’ll find yourself coming back to this base recipe again and again.
Family-Friendly Baking Fun: Getting the kids involved in piping or shaping these cookies turns baking into a joyful activity. The dough is forgiving, so no worries about perfection—it’s all about the shared laughs and warm oven aromas. Honestly, nothing beats the pride of serving homemade Danish Butter Cookies fresh from the oven.
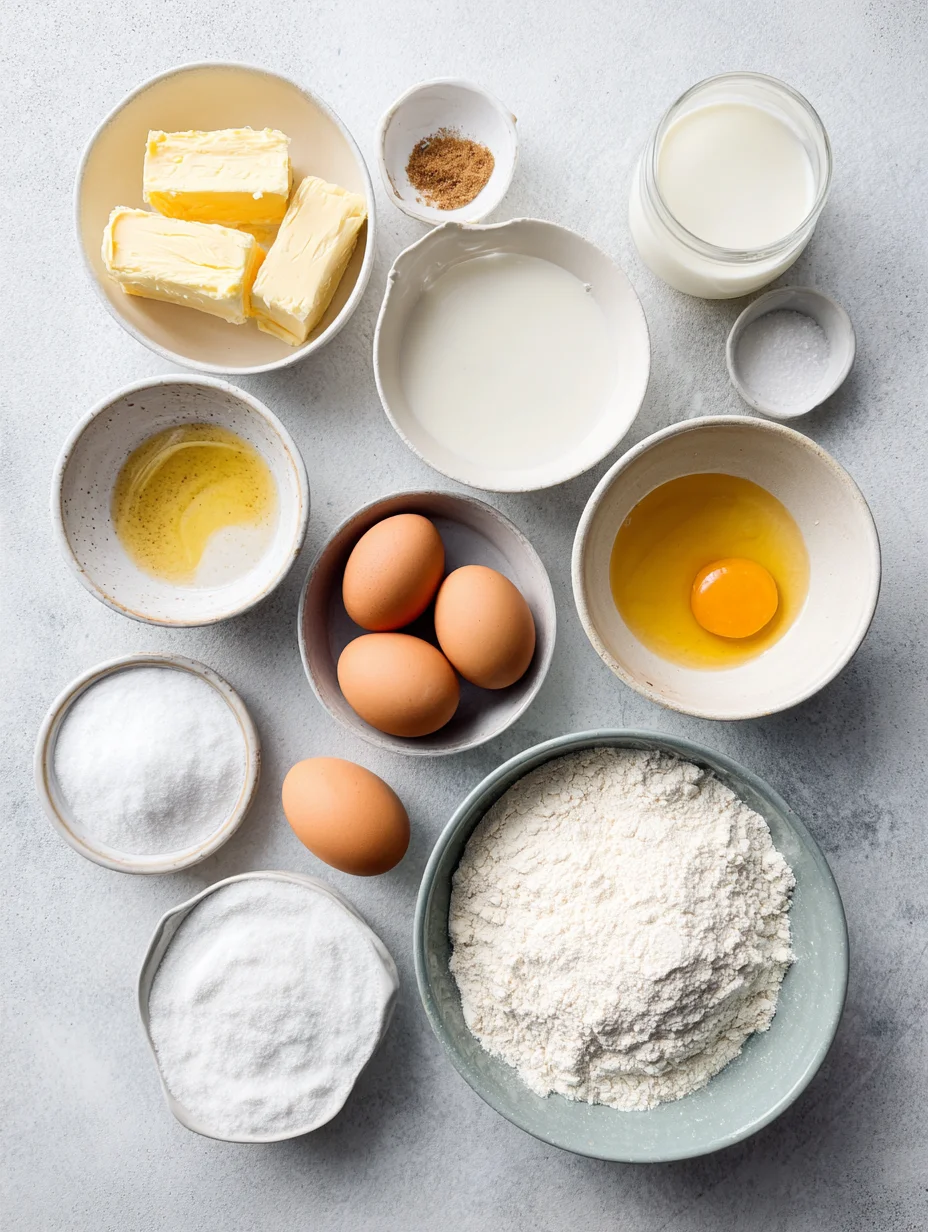
Essential Ingredients for Danish Butter Cookies
Unsalted Butter: The star of these Danish Butter Cookies, high-quality unsalted butter provides that signature rich, creamy base without overpowering saltiness. Softened to room temperature, it creams beautifully with sugar for a light texture. In my experience, using European-style butter elevates the flavor even more, mimicking traditional Danish recipes. Always measure by weight for precision—about 225 grams for the best results.
Powdered Sugar: This fine sugar dissolves seamlessly, contributing to the cookies’ tender crumb and subtle sweetness that doesn’t overwhelm the butter. It helps achieve that melt-in-your-mouth quality without grittiness from granulated sugar. I’ve tried both, and powdered sugar wins every time for authentic Danish Butter Cookies. Sift it first to avoid lumps in your dough.
All-Purpose Flour: The backbone of the structure in Danish Butter Cookies, this flour creates a crisp yet delicate cookie when mixed just right. It absorbs the butter without making the dough tough, thanks to gentle handling. For these treats, about 250 grams sifted with a pinch of salt ensures even baking and that golden hue we all love. It’s forgiving, but don’t overmix to keep them light.
How to Make Danish Butter Cookies
Prepare the Dough
Start by beating the softened butter and powdered sugar together until creamy and pale—this usually takes about 2 minutes with an electric mixer. Add the vanilla extract for that subtle aroma that enhances the Danish Butter Cookies’ classic flavor. Gradually incorporate the flour and salt, mixing just until a soft dough forms; overmixing can toughen it up. In my experience, letting it rest for 10 minutes makes piping easier later on.
Shape and Chill
Transfer the dough to a piping bag fitted with a large star tip, or simply roll into balls if you prefer rustic shapes—these Danish Butter Cookies shine either way. Pipe 2-inch spirals onto a parchment-lined baking sheet, spacing them apart to allow for slight spreading. Chill the shaped cookies in the fridge for 15-20 minutes; this step prevents them from losing their pretty designs during baking. You’ll smell the buttery goodness starting to build even before the oven heats up.
Bake to Golden Perfection
Preheat your oven to 350°F and bake the cookies for 10-12 minutes, until the edges turn lightly golden—don’t let them brown too much for that tender bite. As they cool on the sheet for a few minutes, they’ll firm up beautifully. Freshly baked Danish Butter Cookies are irresistible warm, but they crisp up nicely once fully cooled. For a fun twist, check out our stained glass cookies recipe if you want to experiment with designs.
Ingredients
- 1 cup (225g) unsalted butter, softened
- 1/2 cup (60g) powdered sugar
- 1 teaspoon vanilla extract
- 2 cups (250g) all-purpose flour
- Pinch of salt
- Optional: 1/2 cup (50g) chopped almonds for topping
Danish Butter Cookies Instructions
- Preheat oven to 350°F (175°C). Line baking sheets with parchment paper.
- In a large bowl, cream together butter and powdered sugar until light and fluffy, about 2 minutes.
- Beat in vanilla extract.
- Gradually add flour and salt, mixing until dough forms. Do not overmix.
- Spoon dough into a piping bag with star tip and pipe 2-inch cookies onto prepared sheets.
- Chill piped cookies for 15 minutes.
- Bake for 10-12 minutes until edges are golden. Cool on sheet for 5 minutes, then transfer to wire rack.
- Store in airtight container once completely cooled.

Pro Tips for the Best Danish Butter Cookies
Room Temperature Butter is Key: Always use butter that’s soft but not melted—it ensures even creaming and the perfect texture in your Danish Butter Cookies.
Pipe with Confidence: If piping feels tricky, practice on a plate first; a steady hand gives those classic swirls without stress.
Don’t Skip the Chill: Refrigerating the shaped dough maintains structure, preventing flat cookies and uneven baking.
You Must Know
- Danish Butter Cookies traditionally use high-fat butter for superior richness and flavor.
- Baking time varies by oven, so watch closely after 10 minutes to avoid over-browning.
- These cookies are naturally gluten-light in feel due to the high butter-to-flour ratio.
- Vanilla extract can be swapped with almond for a nutty variation in Danish Butter Cookies.
How to Store Danish Butter Cookies
To keep your Danish Butter Cookies fresh and crisp, store them in an airtight container at room temperature for up to two weeks—they actually improve in flavor after a day as the butter settles. If you need longer storage, freeze the baked cookies in a single layer before bagging; they thaw quickly without losing texture. For that just-baked warmth, pop a few in a 300°F oven for 2-3 minutes before serving—it’s like magic.
Customizing Your Danish Butter Cookies
Feeling adventurous? Dip half of your cooled Danish Butter Cookies in melted dark chocolate for a decadent twist, or sprinkle with sea salt for contrast. If nuts are your thing, fold in chopped pistachios to the dough before piping—it’s a subtle nod to Scandinavian flavors. For dietary tweaks, try gluten-free flour blends, though the texture might be slightly denser; explore our lemon blueberry cookies for more gluten-free inspiration.
What to Serve with Danish Butter Cookies
These cookies pair wonderfully with a hot cup of Earl Grey tea, where the citrus notes complement the buttery sweetness. For a heartier spread, arrange them alongside fresh berries and clotted cream on a cheese board—it’s an elegant yet simple setup. In summer, serve with iced coffee or a light fruit salad to balance their richness. Don’t forget holiday gatherings; they shine next to mulled wine or spiced cider.

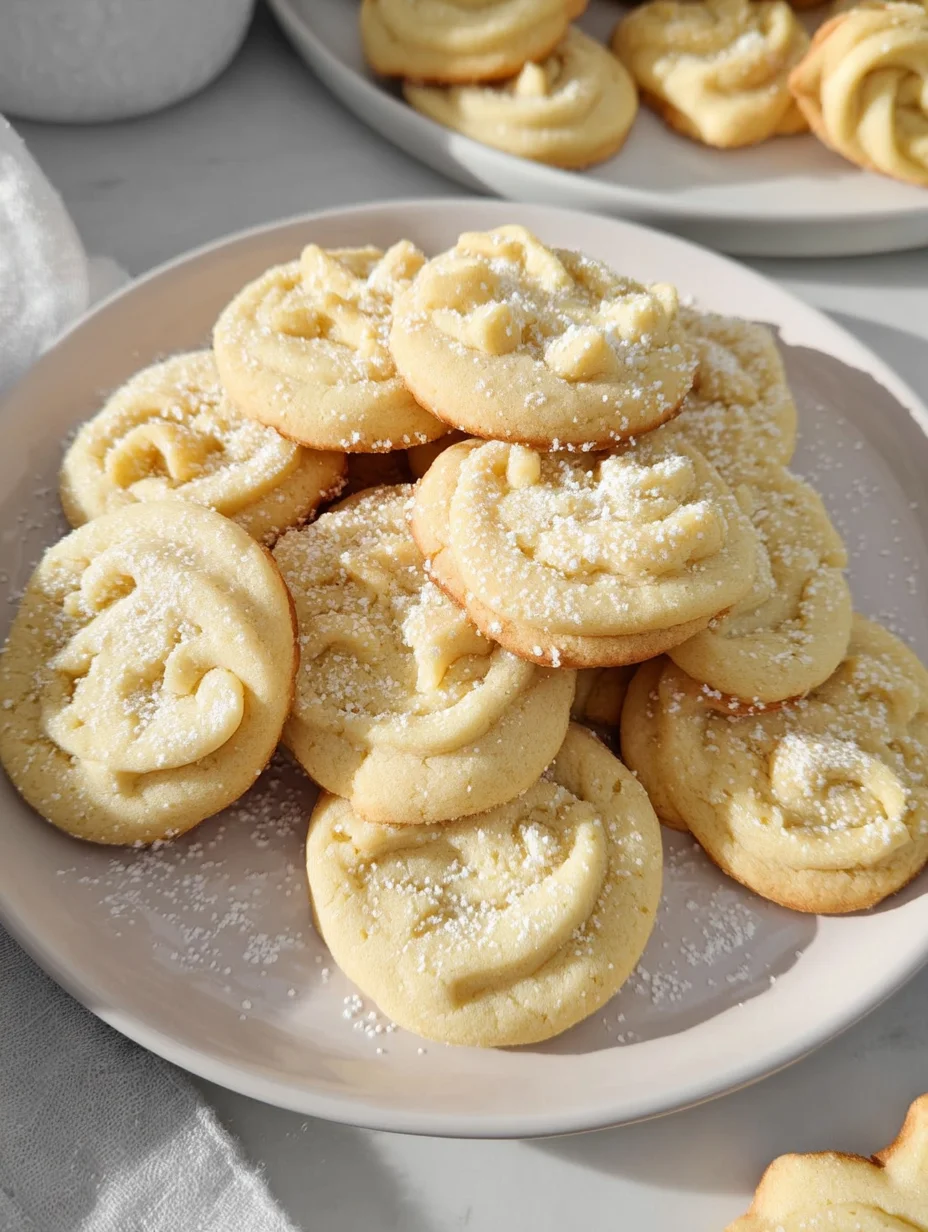
Danish Butter Cookies (Melt in your mouth)
These melt-in-your-mouth Danish butter cookies are synonymous with nostalgia and the holiday season. These simple and delicious butter cookies are perfect for gifting this year!
Timing
Recipe Details
Ingredients
- 01 1 cup European salted butter ((227 g) (room temperature))
- 02 1/2 cup granulated sugar ((100 g))
- 03 1/8 teaspoon salt
- 04 2 egg yolks
- 05 2 teaspoons vanilla extract ((10 g))
- 06 1 tablespoon whole milk ((15 g) (or more to soften))
- 07 2 cups all-purpose flour ((220 g))
- 08 1/2 cup cake flour ((50 g))
- 09 coarse sugar ((for decorating))
Instructions
Make space in the refrigerator and prep the baking mats. Make room in your refrigerator for a baking sheet so the shaped cookies can chill for 20-30 minutes. Without chilling, the piped cookies may over-spread. Line two baking sheets with parchment paper or a silicone baking mat. Set aside.
Cream butter, sugar salt. In the bowl of a stand mixer fitted with a paddle attachment, cream butter on medium speed until smooth. With the mixer still running on low, slowly add in sugar and salt. Mix on medium speed until light and fluffy.
Incorporate egg yolks, vanilla, and milk. While mixing, add egg yolks, vanilla, and milk. Continue to mix on medium speed until well combined. Scrape down the sides of the bowl for thorough mixing.
Mix dry ingredients and add into mixture. In a medium-sized mixing bowl, whisk the flour, and cake flour. Add flour mixture to mixer in two additions, and scrape down the sides of the bowl. Mix on low speed until combined and no traces of flour. If the batter is too thick to pipe, add another tablespoon of milk to soften.
Pipe the cookies. Transfer cookie batter to a large piping bag with fitted a ½-inch open star tip. Pipe 2-inch cookies (rosettes, pretzels, circles, squares) on a prepared baking sheet. Space cookies at least 2-inches apart. If desired, sprinkle the dough with festive sprinkles and/or coarse sugar. Chill in the refrigerator for 20-30 minutes.
Prepare the oven. Preheat oven to 350°F. Make sure the baking rack is in the middle of the oven.
Bake. Bake for 10-15 minutes or until the edges are JUST lightly golden brown. Let cookies cool on the baking sheet for about 5 minutes before transferring to a wire rack to cool to room temperature.
FILED UNDER:
NUTRITION FACTS (PER SERVING)
Nutrition information is calculated using an ingredient database and should be considered an estimate. In cases where multiple ingredient alternatives are given, the first listed is calculated for nutrition. Garnishes and optional ingredients are not included.
Frequently Asked Questions About Danish Butter Cookies
Can I make Danish Butter Cookies ahead of time?
Yes, you can prepare the dough up to two days in advance and store it wrapped in plastic in the fridge—just let it soften slightly before piping. Baked Danish Butter Cookies also freeze beautifully for up to a month, making them ideal for holiday prep. Thaw at room temperature for the freshest taste.
How long does Danish Butter Cookies last in the fridge?
While best at room temperature, your Danish Butter Cookies will stay fresh in the fridge for up to three weeks in an airtight container. The cold can soften their crispness, so bring them out an hour before enjoying. For optimal texture, room temp storage is preferable unless it’s very humid.
Are Danish Butter Cookies gluten-free?
Traditional recipes aren’t, due to the all-purpose flour, but you can substitute a 1:1 gluten-free blend with success. In my trials, adding a bit of xanthan gum helps mimic the chew. Check out related bakes like our easy homemade biscuits for more tips.
Can I add flavors to Danish Butter Cookies?
Absolutely—infuse the dough with lemon zest or cardamom for a fresh twist on Danish Butter Cookies. Start with small amounts to let the butter shine through. These variations keep the cookies authentic yet personalized.
Why are my Danish Butter Cookies spreading too much?
Usually, it’s due to warm dough or soft butter; always chill before baking to hold shapes. Ensure your oven isn’t too hot—stick to 350°F. If issues persist, reduce sugar slightly for firmer results.
How do I pipe Danish Butter Cookies without a bag?
No piping bag? Use a sturdy ziplock with the corner snipped for makeshift piping on your Danish Butter Cookies. Or roll into balls and flatten gently for drop cookies—they taste just as wonderful. Practice makes it easier over time.
What’s the best butter for Danish Butter Cookies?
Go for unsalted, high-fat butter like Plugra or Kerrygold to capture the true essence of Danish Butter Cookies. It creams better and bakes to a golden edge. Avoid margarine—it’s not the same indulgent experience.
Can kids help make Danish Butter Cookies?
Definitely; let them measure ingredients and shape the dough for a fun family activity. Supervise the oven part, of course. It’s a great way to introduce baking basics with delicious rewards.
Final Thoughts
From the first creamy bite to the last crumb, these Danish Butter Cookies embody simple joy and timeless comfort that I never tire of sharing. Whether you’re baking for a crowd or a quiet moment, this recipe delivers that authentic Danish delight right in your kitchen. Give it a try this weekend—you won’t regret adding these homemade treasures to your routine, and I’d love to hear how yours turn out!